How to Purchase Your First Grow Light
Are you ready to start your own vegetable plants from seed instead of buying transplants? If you’re anything like I was when I first started growing from seed, you’re researching and trying to figure out what grow light to use to start your seeds indoors.

Shopping for lights for seed starting nowadays can be frustrating and confusing. With the multitude of lights that are being marketed to gardeners, this can be totally overwhelming. Today I am going to give you 3 simple rules to follow when selecting your first grow lights for seed starting. Follow these 3 simple rules when selecting your first grow lights for starting seeds and you WILL be successful at starting your vegetables from seed indoors.
Starting our own seeds indoors really opens up a whole new world of possibilities for us in terms of the vegetables that we are able to grow in our gardens. No more are we limited to the plant starts that are available to us locally at a Home Depot or a Lowes or our local garden center. We now have thousands of vegetable plant varieties open to us to grow. And to be honest, it isn’t that much work once we have everything setup correctly.
Keeping it SIMPLE
Today we’re going to be talking about standard lighting that we can purchase and use as grow lights to start seeds indoors. We are not going to be talking today about LED lights that are marketed as “grow lights”.
There are good reasons why we are going to be talking about standard lighting instead of LED “grow lights”. As a beginner starting our seeds indoors for the first time, we want to keep this as simple and as inexpensive as possible while still ensuring that we will have great success starting our seeds indoors.
Now let’s get right to those 3 simple rules we need to know to select our first grow lights so we can get growing!
Rule #1: Know the Size of Your Growing Area:
I recommend that we grow our seedlings in standard 10 inch x 20 inch plant starting trays like this.

The area, in square feet, of a single 10-inch x 20-inch seed starting tray is 1.4 square feet. Two trays side-by-side will have a total growing area of 2.8 square feet. For all the examples in this article, we are going to assume we are using two standard seed starting trays side-by-side with a growing area of 2.8 square feet.
You will see how we will use use this number in Rule 3. Or, if your grow area is different, just calculate the total square feet of actual growing area of your seedlings and you can use that number when we get to Rule 3.
Rule Number 2: Color Temperature:
The color of standard lighting is defined in terms of Kelvin or “K”. When we select our first lights for starting seedss, we want a color temperature between 5000k and 6500k. The higher number the better. This color simulates daylight. You will see this color temperature defined on standard light packaging or product description like this.

Side Note: Technically, the color temperature is a description of the color in terms of how “Humans” perceive the light. That concept is important when we talk about LED lights designed as grow lights, but that is not important for this discussion. What is important for this discussion is that the color temperature we will look for when buying our first lights for staring seeds indoors is 5000k to 6500k. This will work great for our seed starting.
Rule Number 3: Light Intensity:
The measure of the intensity of standard lighting (lighting that is not marketed as an LED “grow light”) is defined in “Lumens”. Technically, again, this is a measure of how “humans” perceive the brightness of the light. This concept is important for when we investigate options for LED lights designed for growers but is not important for our discussion today. What is important for our first grow lights is that we want between 3000 and 5000 lumens per square foot over our growing area for starting seeds.
3 Rule In Summary:
Rule 1 - Know Your Growing Area
Rule 2 - Color Temperature between 5000k and 6500K
Rule 3 - Light Intensity of 3000 -5000 Lumens per square foot.
Let’s apply these three rules to three different examples!
Example #1: “OLD SCHOOL”
This method is one that thousands and thousands of gardeners have used with great success. The method involves purchasing standard T8 fluorescent shop lights to use as grow lights for seed starting.
Side Note: The “T” stands for “Tube” and the “8” is the size of the tube diameter in 1/8’s of an inch. So a T”8” fluorescent light is 8/8 or 1” diameter. End Side Note.
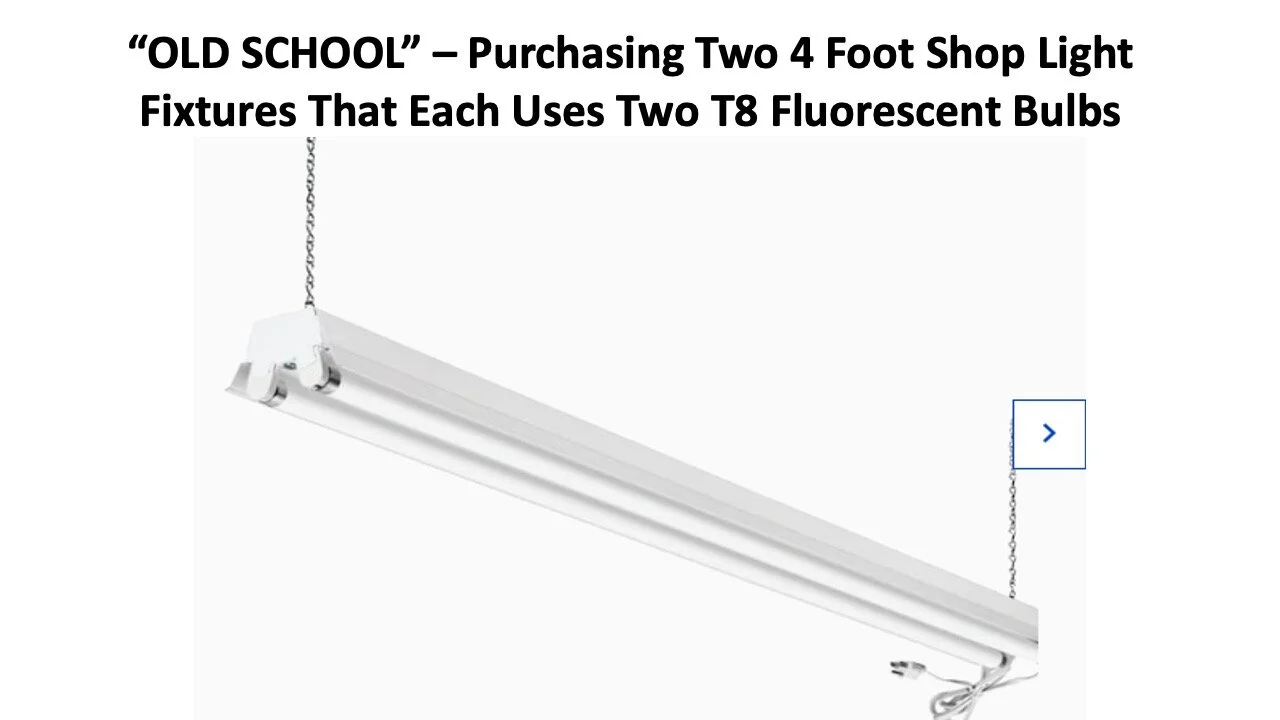
Each of these shop lights is about 5.5 inches in width. And we will need 2 light fixtures for enough light to cover our growing area of two 10-inch x 20-inch seed starting trays illustrated in the picture below..

Locating fluorescent tubes to use in these fixtures it took me just a few minutes to find lights with 2900 Lumens per tube and a light temperature of 6500K. PERFECT!

When we apply our 3 RULES to “OLD SCHOOL”, we get the following summary:

The Pros and Cons of “OLD SCHOOL”.
Pros
Inexpensive
Has been proven to work by thousands and thousands of gardeners.
Cons
We have to keep the lights very very close to the seedlings.
Fixtures put off more heat than other options.
Lights will need to be on for a minimum of 18 hours per day.
Slow growth of our seedlings compared to other options.
Example 2: “Old School - New Tech”
One thing I have noticed is that standard T8 fluorescent shop light fixtures are becoming harder and harder to find as lights are converted to LED. For this option, we have the same standard 4-foot shop lights but they are powered by LED (not marketed as grow lights) instead of T8 fluorescent tubes.

For this example we have to set the lights up exactly as the previous example with two light fixtures side by side above our growing area.
When we apply our 3 RULES to “OLD SCHOOL - NEW TECH”, we get the following summary:

The Pros and Cons of “OLD SCHOOL - NEW TECH”
Pros
Even less expensive than “OLD SCHOOL”
Cons
We have to keep the lights very very close to the seedlings.
Lights will need to be on 24 hours per day during seed starting.
Slow growth of our seedlings compared to other options.
Example 3: “High Output Grower”
If we want to step up our game up, then we want to look at T5 High Output or T5 HO Fluorescent Lights. These lights use a T5 (5/8” Diameter) fluorescent tube bulb. These high output bulbs are used in fixtures that enable them to put out much more light than a standard T8 bulb.

The T5 HO fluorescent tubes put out as much as 5000k lumens per 4-foot tube giving us a total of 20,000 Lumens! This option is going to be almost 2x the price of the previous options but the higher output of lumens allows us to keep these lights 4-6” away from our seedlings. In addition to that, we will see considerably faster growth of our seedlings under these lights.
When we apply our 3 RULES to “OLD SCHOOL - NEW TECH”, we get the following summary:

The Pros and Cons of “HIGH OUTPUT GROWER”
Pros:
This is the “gold standard” for the non-LED grow light setup for seed starting.
These units are easy to find and purchase.
Plants can be kept 4-6” away from the light allowing for good airflow around our seedlings.
20,000 Lumens per lamp and 7100 lumens per square foot of growing space allows for much faster seedling growth than the other two options.
Can be converted to LED just by changing the tube from a fluorescent tube to an LED Tube.
The cons:
2x the price of the other options. A good 4-foot, 4-bulb T5 HO fixture will be $100 - $125.
Pro-Tip: Many “inexpensive” options of low quality T5 HOnFixtures are available for purchase online. Be sure to check out the 1 and 2 - star reviews of these cheap options before buying one. When it comes to these fixtures, “we get what we pay for”.
CONCLUSION:
All of the options we talked about today will work just fine for your seed starting. Just follow the 4 Rules when you are shopping for your first seed staring lights and you’ll be successful!
If I had to make a recommendation, my preference, even for a new grower would be to use the T5 HO Fluorescent Fixtures if it is within your budget. This option allows you to keep the light a little higher above the plants, which makes it easier to get good airflow around your seedlings with an oscillating fan. In addition to that, the growth from a T5 HO Fixture will be considerably faster than the other options. Finally, you can even upgrade later to LED if you want using the same fixture!